How to Login to Sinric Pro and Add Devices

 You can simply link the Google Home and Amazon Alexa Apps with an ESP8266, NodeMCU, or ESP32 microcontroller using Sinric Pro to control any appliance with Google Assistant and Alexa. With Sinric Pro, you can simply create any IoT-based home automation project.

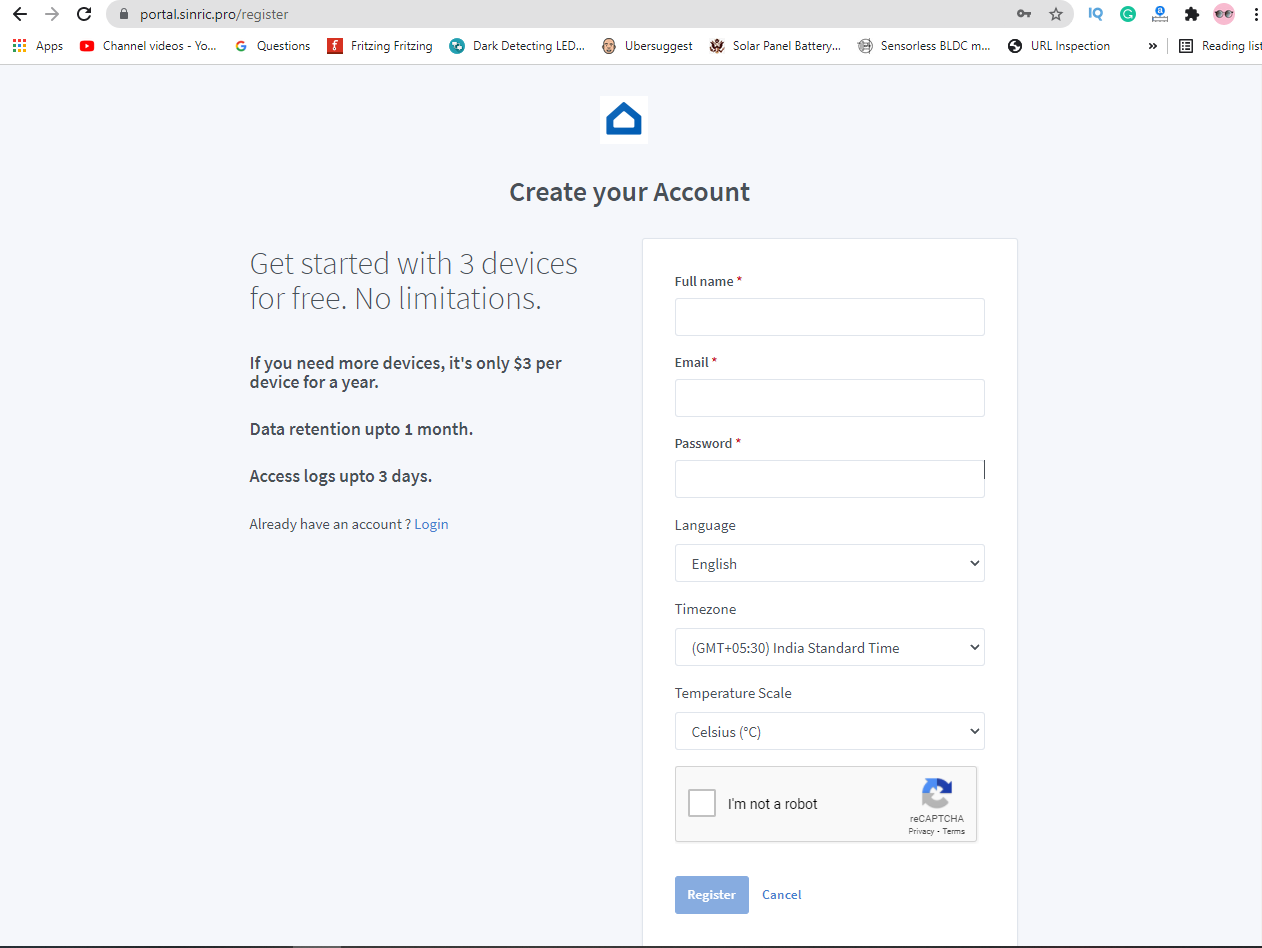
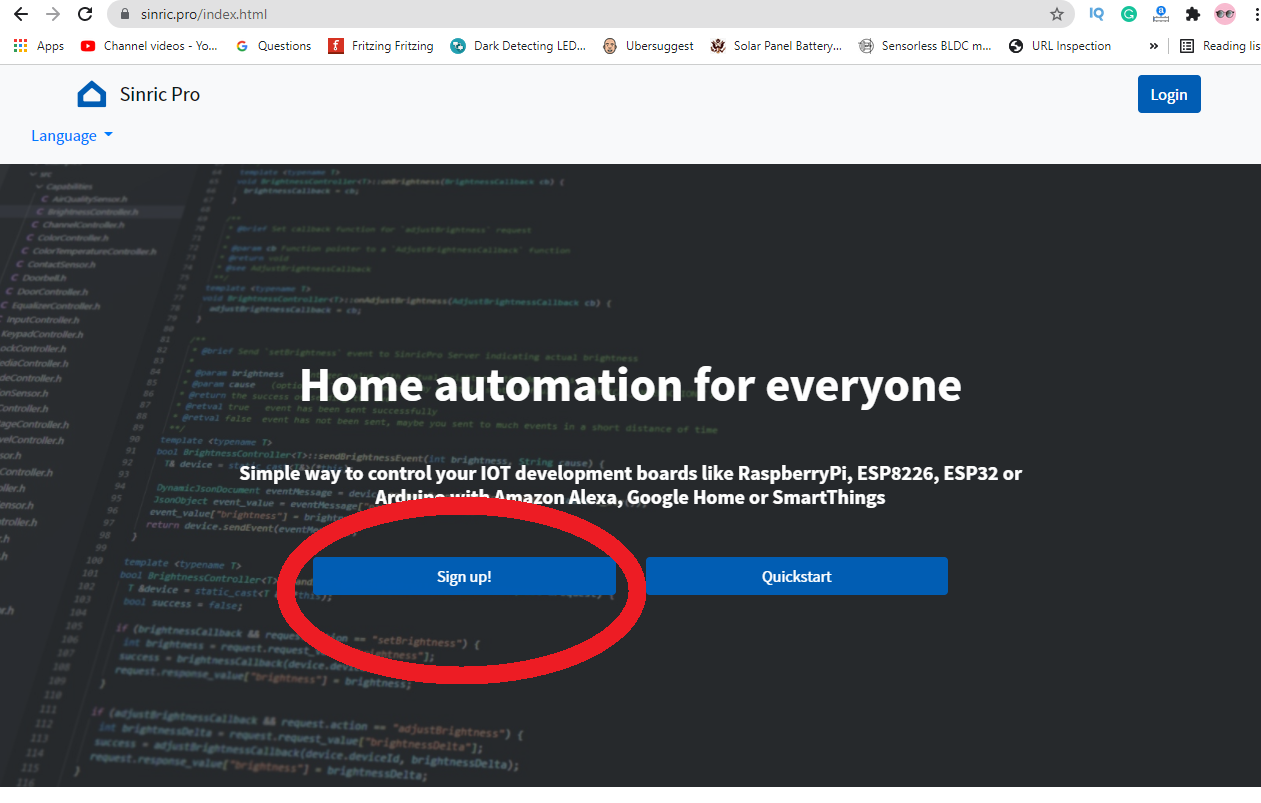
Register for a Sinric Pro Account.

Step-1

How to Login to Sinric Pro and Add Devices

Step-2 

Then, after filling out all of the required information, click Register.

How to Login to Sinric Pro and Add Devices

Step-3

Login to Sinric Pro

Then, after entering your email address and password, click Login.

Step-4

In Sinric Pro, create a Room.

You must first make room in the Sinric Pro before adding the gadgets.


The following are the steps for constructing rooms in Sinric Pro:

  • In the left-hand menu, select Rooms.
  • To create a new room, click the Add Room button.
  • Fill in the Room Name and Description fields.
  • Save the file.


As a result, you may build numerous rooms based on your needs.

Step-5

Sinric Pro allows you to add devices.

Choose Devices from the left-hand menu, then click the Add Device option.

Fill in the following information about the device:

Step-6


Fill out the Device Name and Description fields.

  • Then, depending on your needs, choose the Device Type. I've chosen Switch as the device type because I'll be controlling an SPDT relay.
  • The gadget is then assigned to a Room.
  • After that, select Next.

Step-7


Configure Mobile Push Notifications

  • You can switch on notifications if you wish to get push alerts about this device.
  • This field is not required.
  • Next should be selected.


If you want to set a timer to turn on or off a device after a certain amount of time, you may do it here. This field is also optional.
Next should be selected.


This is another field that can be left blank. To receive an estimate of energy usage, enter the wattage rating of the connected device.
Now Save the file. The gadget will be made.


If you sign up for a Sinric Pro free account, you may add up to 3 devices for free.
API SECRET & Sinric API KEY

You must first input the Sinric API KEY and API SECRET before uploading any sample sketch to the ESP8266 or ESP32.


Go to Credentials from the left side menu to retrieve the API KEY and API SECRET.
Then, in the code, insert the APP KEY and APP SECRET with the Wi-Fi name and password.
In the code, you must also include the device id. The Device ID may be found in the Devices menu.

A unique ID is provided to each device when it is created in Sinric Pro. There will be 3 distinct device IDs if you create three devices.


Comments

Popular posts from this blog

Stabilizer in Hindi स्टेबलाइजर की पूरी जानकारी हिंदी में

स्टेबलाइजर क्या होता है घर के लिए सही वोल्टेज स्टेबलाइजर आपने वोल्टेज स्टेबलाइजर के बारे में जरूर सुना होगा और आपके घर में stabilizer जरूर होगा। लेकिन क्या आप जानते हैं कि स्टेबलाइजर क्या होता है?(what is stabilizer ?) क्या आप जानते हैं कि स्टेबलाइजर का काम क्या है और स्टेबलाइजर कितने प्रकार के होता है? क्या आप जानते हैं कि स्टेबलाइजर कैसे काम करता है? यदि नहीं जानते हैं तो हमारा ये पोस्ट जरूर पढ़ें। इस पोस्ट में आज हम स्टेबलाइजर की पूरी जानकारी हिंदी(stabilizer in Hindi) में देने जा रहे हैं। स्टेबलाइजर एक ऐसी डिवाइस होती है जो कि Fix Value की वोल्टेज प्रदान करता है.हमारे घर में कुछ ऐसे उपकरण होते हैं जिन्हें कम से कम 240 V की सप्लाई की जरूरत होती है और कुछ कारणवश हमारे घर में अगर सप्लाई 240V से कम आती है तो वह उपकरण ठीक प्रकार से कार्य नहीं कर पाता इसीलिए उसके लिए स्टेबलाइजर की जरूरत पड़ती है. जो कि हमारे घर में आने वाली सप्लाई को 240V पर Fix कर के उपकरण को 240V की सप्लाई प्रदान करता है. स्टेबलाइजर का इस्तेमाल ज्यादातर रेफ्रिजरेटर  (फ्रिज) एयर कंडीशनर इत्यादि पर किया जाता है.

वायर जॉइंट के Different प्रकार

 Different Types of Wire Joint Requirement:- किसी भी तार में जॉइंट बनाने की जरुरत क्यों पड़ती है किसी भी वायर में जॉइंट बनाने की जरुरत इसलिए पड़ती है ताकि किसी भी चालक तार की लम्बाई बढ़ाई जा सके और किसी चालक लाइन में से किसी अन्य लाइन को जॉइंट बनाकर उसे स्थाई रूप से जोड़ा जा सके जॉइंट ऐसा होना चाहिए की वह लाइन को अच्छे कनेक्ट तथा लाइन को पर्याप्त सुद्रढ़ता भी प्रदान कर सके,,इन जोइन्टो को विभिन्न प्रकार से तैयार किया जाता है यह चालक तार की मोटाई,जोड़ की किस्म,जॉइंट किस लाइन में लगाना है इत्यादि पर निर्भर करती है  ।   Different Types of  Joints:-ओवर हेड लाइन्स तथा घरेलु वायरिंग में मुख्यतः निम्न जोड़ प्रचलित है  Twisted Joint(ऐंठा हुआ जोड़) :- इस प्रकार के जॉइंट में तारो अथवा केबल के चालक सिरों को आपस में ऐंठ कर उनके अंतिम समापन सिरों को जोड़ की और मोड़ देते है इस प्रकार का जॉइंट ओवर हेड लाइन में खम्बो के ऊपर लगे इंसुलेटर पर लगाया जाता है इसे किसी लाइन के मध्य में नहीं लगाया जाता है इसे Pig Tail अथवा Rat-Tail Joint जॉइंट भी कहते है।    Married Joint(मैरीड जॉइंट) :- इस प्रकार के जॉइंट में तारो अथ

Star Delta Starter In Hindi | स्टार डेल्टा स्टार्टर | का प्रयोग मोटर में क्यों किया जाता है ?

स्टार डेल्टा स्टार्टर |Star Delta Starter इस Article मे स्टार डेल्टा कनेक्शन, Star Delta Formula, स्टार डेल्टा स्टार्टर का सिद्धांत, पावर डायग्राम, कन्ट्रोल डायग्राम, स्टार डेल्टा स्टार्टर के लाभ एवम नुकशान और स्टार डेल्टा स्टार्टर से संबधित इंटरव्यू में पूछे जाने वाले सवाल पे भी विस्तृत में जानकारी देने की कोशिश की हे। आशा हे आप के लिए मददगार होगी। Star Delta Starter मोटर को सलामती पूर्वक चालू करने के लिए, मोटर का रक्षण करने के लिए एवम मोटर का स्टार्टिंग करंट कम करने के लिए उपयोग किया जाता हे। मोटर को स्टार्ट करने के लिए और भी कही टाइप के स्टार्टर हे। जैसे की डायरेक्ट ऑन लाइन स्टार्टर, स्टार डेल्टा स्टार्टर, ऑटो ट्रांसफार्मर स्टार्टर, सॉफ्ट स्टार्टर, vfd (Variable Frequency Drive) और रोटर रेजिस्टेंस स्टार्टर, जो मोटर को सलामती पूर्वक चालू भी करते हे,और सुरक्षा भी प्रदान करते हे। स्टार डेल्टा स्टार्टर क्या है? एक स्टार्टर का काम हे स्टार्ट करना। यहां एक इलेक्ट्रिक मोटर स्टार्टर की बात हे। स्टार डेल्टा स्टार्टर याने, एक इलेक्ट्रिकल उपकरण जो कही उपकरणों को एकत्रित करके तैयार किया जाता ह